Wondering why your AirPods keep disconnecting or pausing, even when fully charged? Or are you able to get one of them working, but the other just doesn’t want to connect or make sound?
Well you’ve come to the right place! In this How-to article, I’m going to walk you through some steps to troubleshoot your AirPods pairing issue, and hope to get you back to enjoying your music in no time.
I’ve also included instructional photos to help you understand the steps even easier with a visual aid.
Reasons Why Your AirPods Keep Disconnecting, Pausing, or Cutting Out
First, let my start by listing all the potential reasons why your AirPods keep disconnecting or pausing:
1. Old firmware on AirPods needs to be updated. You can view what the latest firmware versions are on Apple’s official website here. Unfortunately, I think you can only see your AirPods’ firmware version on an Apple device when you go to “Settings”.
2. Your device (iPhone, MacBook, iPad) may need to update to latest version of iOS or MacOS.
3. Your AirPods are currently connected to a different device.
4. AirPods are set to “Automatic Ear Detection”. This is a default setting where taking one AirPod out of your ear will pause your music. You can turn it off in Settings.
5. AirPods may need a factory reset. See below for instructions how to reset any AirPods model.
6. Battery may actually be dead, despite showing “fully charged”. Is your AirPods 2-3 years old or older? Unfortunately, they may have lost their ability to hold a charge much longer than a few minutes, despite saying 100%. The full capacity may only be 5% of the original battery.
How to Troubleshoot and Fix AirPods Disconnecting, Pausing, or Cutting Out Issues
Step 1. If you’re using an Apple device like iPhone, MacBook Pro, or iPad, go to Settings and update your iOS or MacOS to the latest available version. If you’re on Windows, update your drivers.
Step 2. Update the firmware of your AirPods by keeping your updated Apple device next to them while they are charging in their case. There’s no way to force a firmware update, so you may need to just leave them near each other overnight. Then go to “Settings” and you should be able to choose your AirPods from the top of the menu and see if it matches the latest firmware version.
Step 3. Now, in your Bluetooth settings, choose to “Forget this device” or “Unpair” your AirPods.
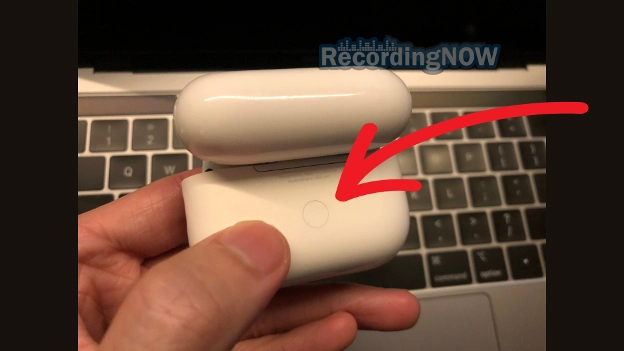
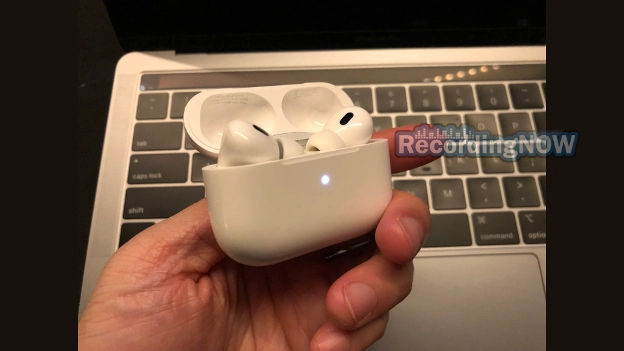
Step 4. Pair your AirPods again with the device like you did when they were new, holding the pairing button on the back of the charging case for at least 5 seconds until the white LED turns on. They should now connect and work much better.
Step 5. If they still don’t work, you can perform a factory reset and try again (keep reading for instructions below). Unfortunately, if none of the above work and your AirPods are 2+ years old, the battery may actually be dead.
Right AirPod or Left AirPod Not Working or Charging?
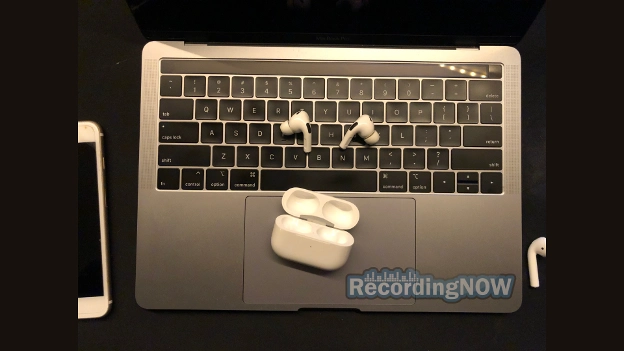
If it’s only your right AirPod or left AirPod that is not working or making sound, first try putting both back in the case for a few seconds, then try putting them on again. If that doesn’t work, go to Settings and “Forget this device” or “Unpair”, and pair the AirPods back again.
If it’s only your right AirPod or left AirPod that is not charging, then most likely you need to clean your AirPods metal charging contacts at the bottom of the AirPod stem, and also at the bottom of the charging case.
If you’ve done the above and it still doesn’t work, you may need to perform a factory reset (read below on how).
If it doesn’t work after a factory reset, and your AirPods are over 2 years old, one of them may actually be dead (RIP).
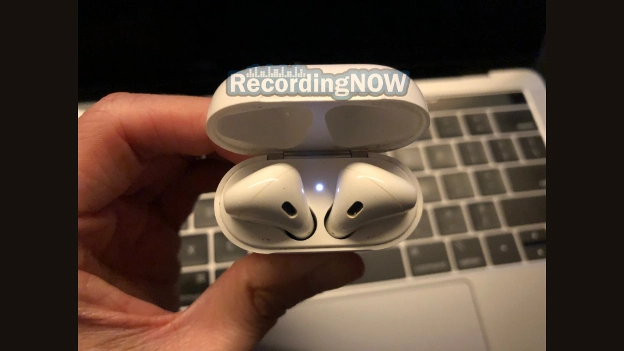
How to Reset AirPods or AirPods Pro
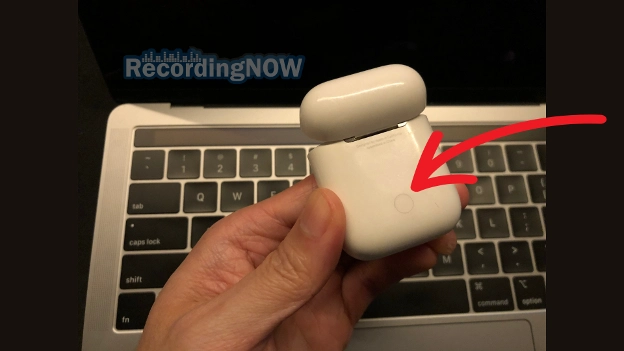
Here’s how to reset any AirPods or AirPods Pro model back to factory settings to fix some issues.
Step 1. Put AirPods back in the charging case and wait for at least 30 seconds.
Step 2. Open the lid, and hold the pairing button for at least 15 seconds until the status light flashes orange, then back to white.
Now the AirPods should be restored to factory settings and are ready to pair again.
AirPods Connected but No Sound Comes Out?
If your AirPods show “Connected” but there’s no sound, chances are that you need to change the audio source to your AirPods instead of your device. You can easily do this on Apple devices by pulling down top-right to open the menu, press the “audio source” button top-right (looks like 3 circles above a triangle), then simply choose your AirPods.
If you’re still not receiving sound, you can go to Settings and “Forget this device” or “Unpair”, then try pairing again. This usually works.
Why do my AirPods or AirPods Pro Keep Beeping?
The reason your AirPods or AirPods Pro keep beeping is because they are signaling low battery. The first beep occurs at 10% battery, and then there is a second one right before they reach 0% and die. Keep your AirPods charged above 10% to prevent hearing the low battery beep notification.
Read Next
How to Clean AirPods, AirPods Pro Mesh + Case from Ear Wax

How long do AirPods last, and take to charge? (ALL Models)
How to Connect AirPods to iPhone, MacBook, iPad w/ Photos!

Apple AirPods Pro 2 Review: WORTH IT in 2024? (USB C)

Apple AirPods Max Review: Still Worth it in 2024?

Apple AirPods Pro 2 vs AirPods Max: Owner Comparison (2024)

Apple AirPods 2 Review: WORTH IT in 2024? (2nd Generation)

How to Connect AirPods to Windows Laptop + PC w/ Photos!

Beats Studio 3 Wireless Review: WORTH IT in 2024?
Bose QuietComfort 35 II (QC35 II) Review: WORTH IT in 2024?
